Want to make restaurant-quality sushi rice easily at home? Well you've come to the right place! Follow along as I teach you step-by-step on how to properly choose, prep, cook, and make the perfect sushi rice. I also share my simple 2-minute sushi vinegar recipe that I've been using professionally for over 20 years. Let's do this!
How many times have you heard someone say "I don't like sushi because I don't like raw fish" or "it's not real sushi unless it's raw"? I'm sure you have, or maybe you've said it yourself. Well, a little sushi knowledge 101 here for you. The word "sushi" in Japanese actually translates to "sour rice" and represents the vinegared rice instead of the raw fish. Which means sushi can have anything in or on top of it and still would be considered sushi, as long as the vinegared sushi rice is used (sashimi is different). So don't be ashamed to order that California roll or cucumber roll next time you're out with your "sushi-expert" buddies. If they tell you that's not "real sushi", then we know who's the real expert at the table.
So needless to say, the most important part of sushi is... you guessed it, the rice.
But what's the difference between great sushi rice, OK sushi rice and "what the hell is this" sushi rice?
To figure that out, let's dive in a littler deeper, starting with the type of rice to use.
What Type of Rice?
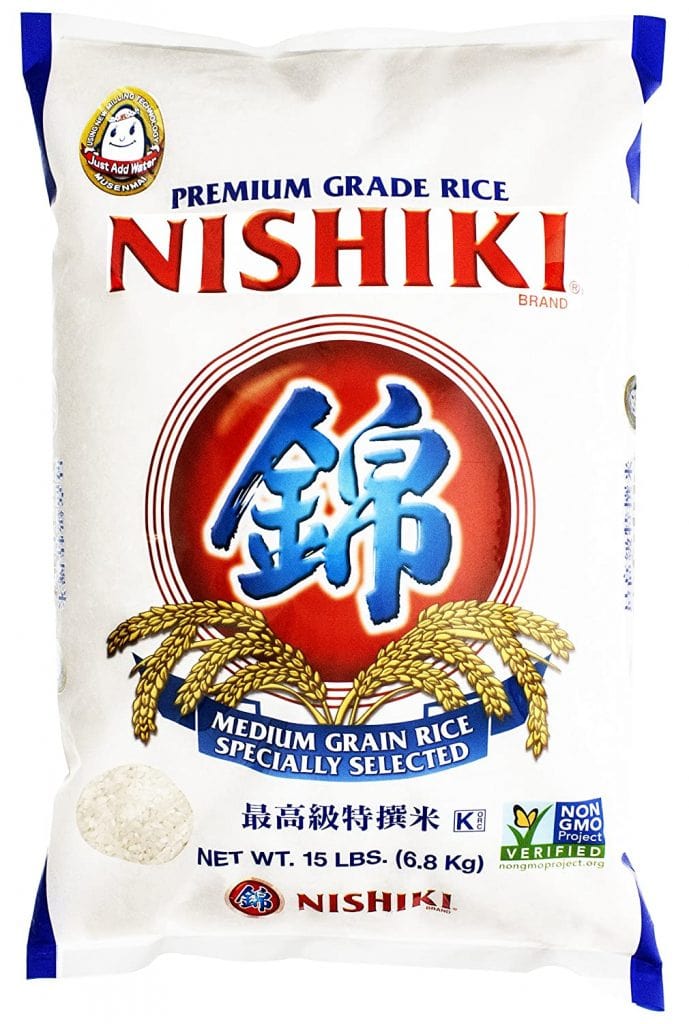
Did you know there's over 120,000 varieties of rice in the world!? But don't worry, I'll keep this extremely simple. Use Japanese short or medium-grain rice, simple as that. Stay away from any long-grain rice like jasmine or basmati and don't you even think about that box of Uncle Ben's in the back of your pantry.
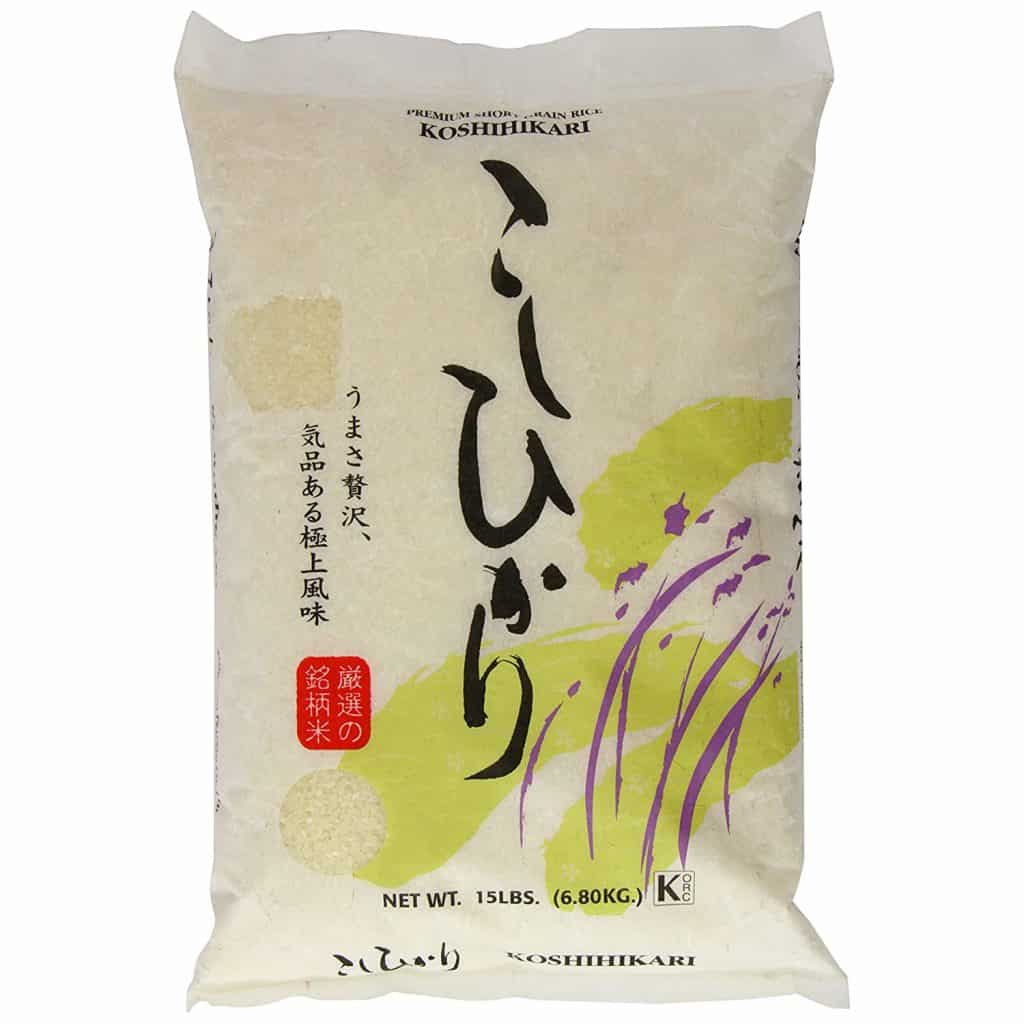
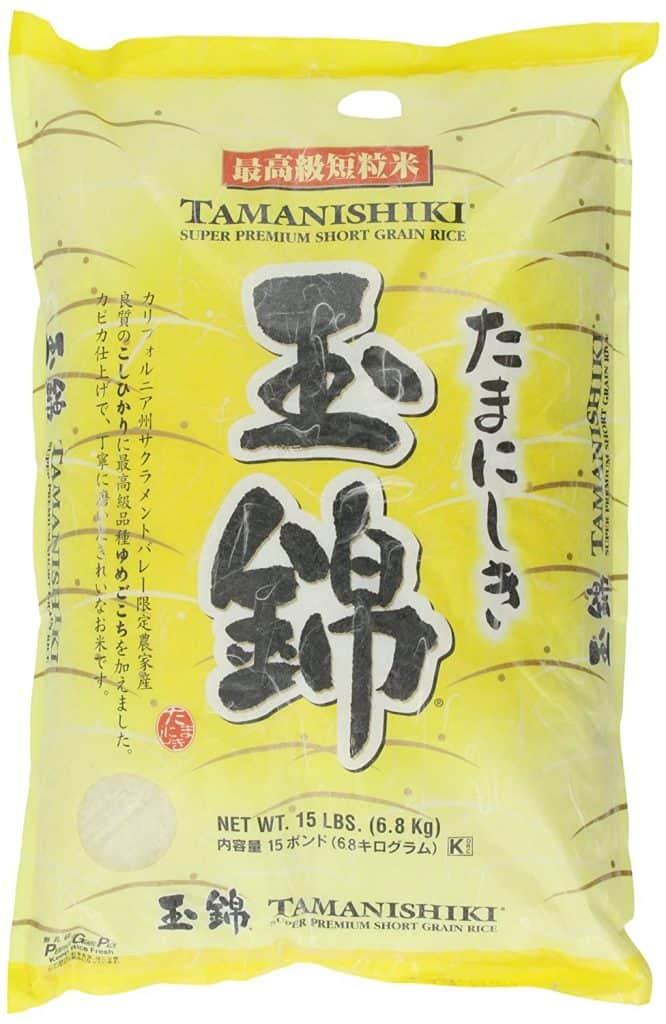
Now good Japanese rice doesn't necessarily have to be grown in Japan. There are several high-quality Japanese rice that is grown in California which is much more affordable and readily available. Here are some of my personal favorites, you can't really go wrong with any of these.
Click on the pictures to find out where to buy (this is an affiliate link, which means I may receive a small commission at no extra cost to you).
Great, we got the type of rice figured out. Now let's talk about the prep process.
Measuring, Rinsing, and Measuring Again
Measuring the correct amount of rice (or more so the water) is crucial to making good rice. No matter how high-quality the rice itself is, if you don't measure and cook it right, it'll come out like crap. Luckily, it's super simple.
First let's go over how much rice you'll be needing. The amount of rice to cook obviously depends on how much sushi you plan to make. Check out this handy-dandy chart I made so you can figure how much of everything you need, including the sushi vinegar ingredients which I'll cover here shortly.
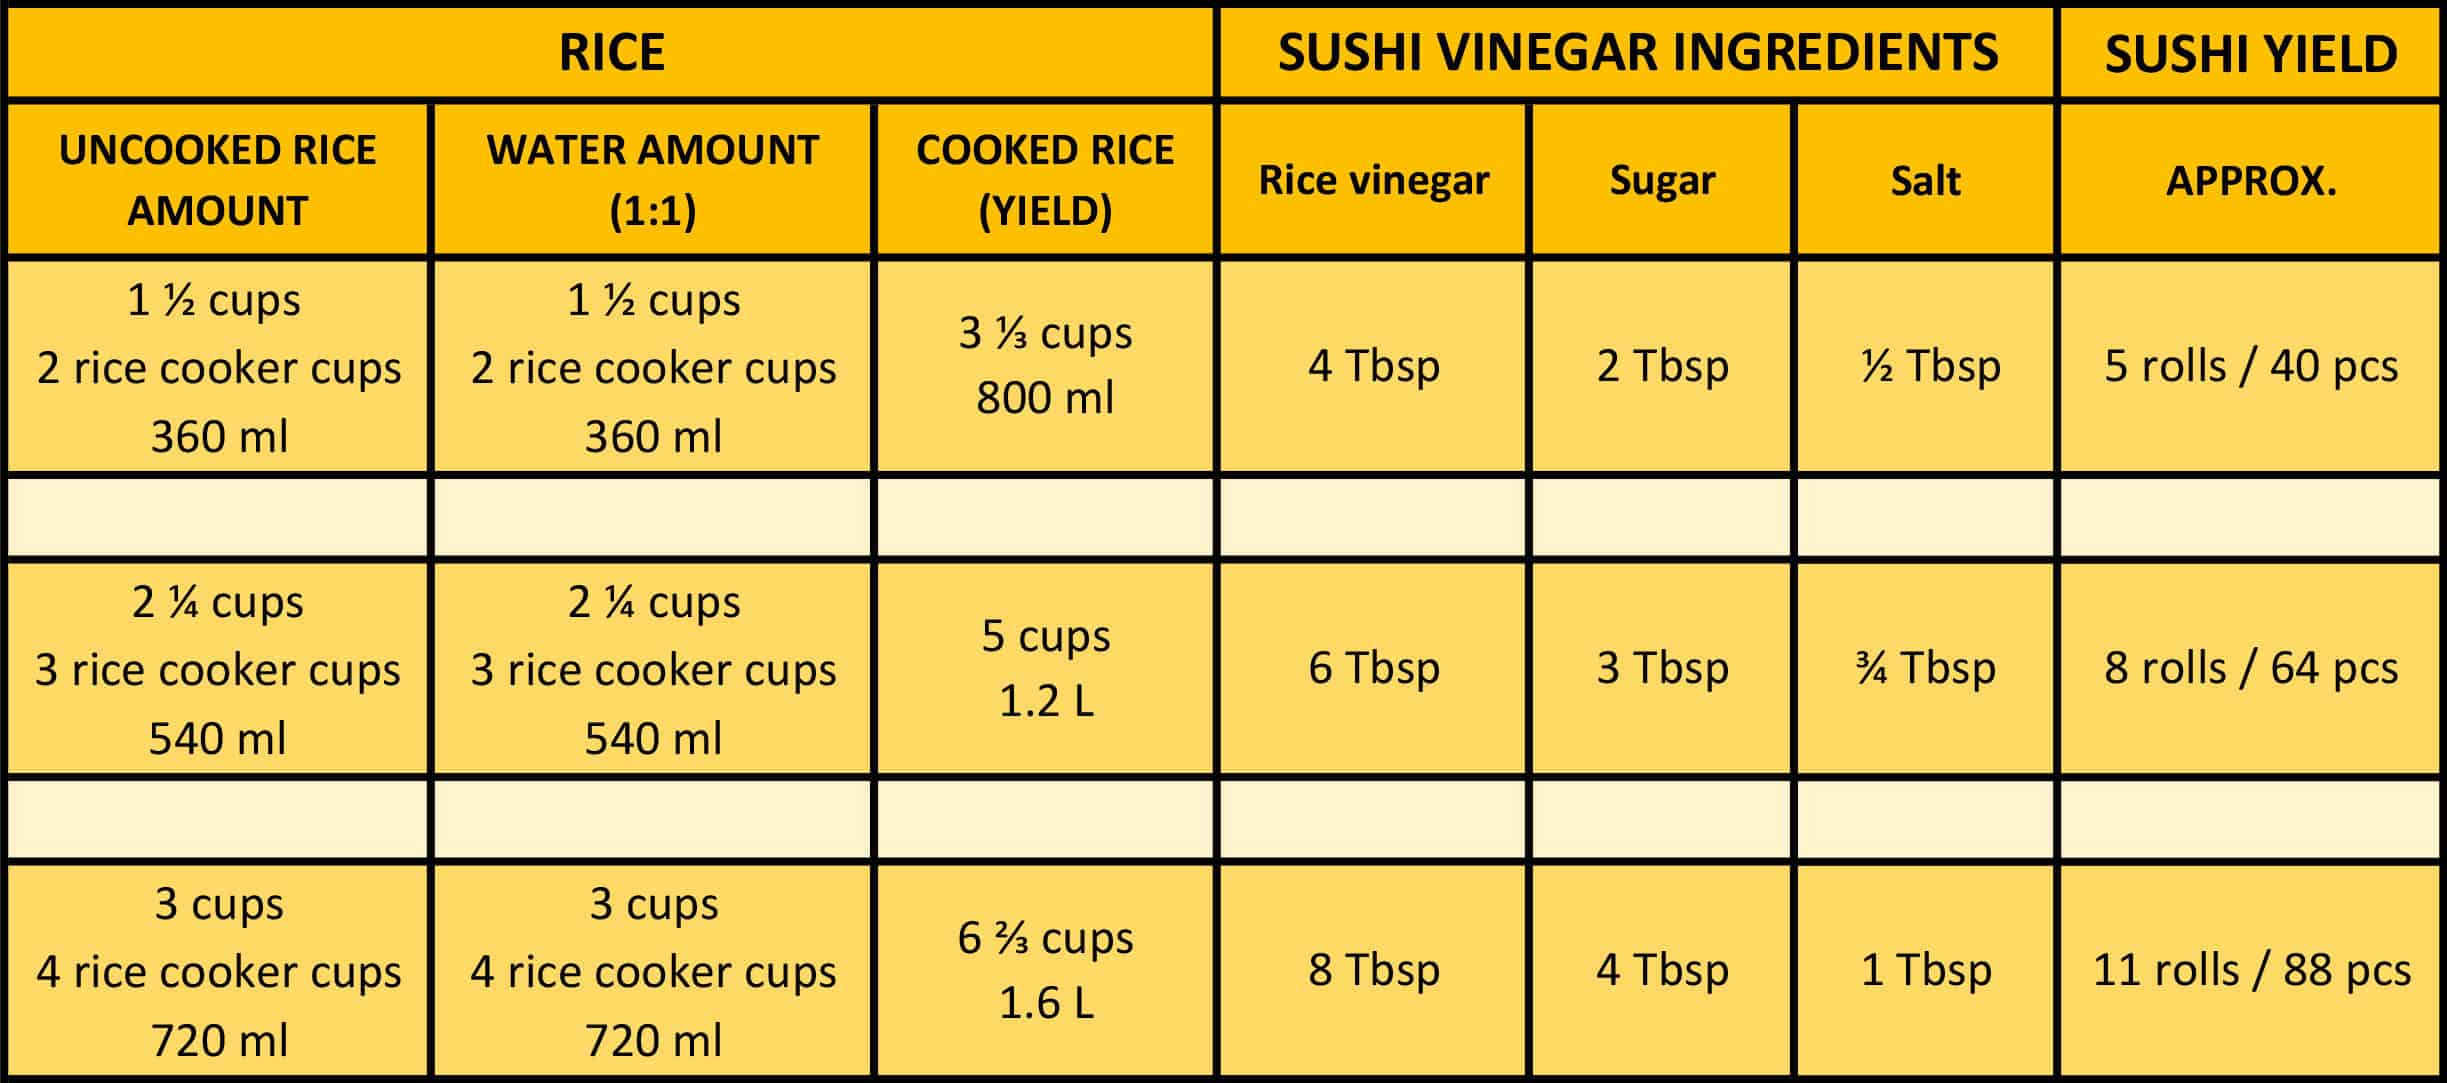
What in the world is a rice cooker cup? If you own a rice cooker then you probably already know this but there's a small cup that usually comes with any rice cooker. It's actually the standard measurement for rice globally and is equal to ¾ of a standard U.S. cup (1 rice cooker cup = 180 ml, while a standard U.S. cup is 240 ml). I explain it a little more in the video but that's pretty much all you need to know. What's important is that you follow the measurements on the chart.
Note: You can adjust the ratios and make a lesser amount but it'll be difficult to control the consistency so I recommend cooking at least 1½ cups (2 rice cooker cups) worth.
What If I Don't Have a Rice Cooker Cup or a Measuring Cup for That Matter?
You'll notice on the chart that the water amount to uncooked rice is a 1:1 ratio. This is why it's extremely simple, literally my 3-year-old son can do this. For example, if you're cooking 3 cups of rice, just use 3 cups of water to cook it in. And you can use any type of vessel really, that ugly coffee mug you got for last year's secret Santa, your child's old sippy cup, or that ridiculously big shot glass back from college... just as long as you use the same thing to measure both the rice and water.
Rice Cooker or Stovetop?
Now that we got the measuring part squared away, let's talk about how to actually cook the rice.
I'll be teaching you the stovetop method which really only requires a pot with a lid but if you plan to make sushi often or enjoy rice frequently, I highly recommend investing in a good electric rice cooker. A rice cooker as an essential kitchen item especially in Asian households and a good one can last forever, not kidding! We have a backup rice cooker that my parents gave me over 20 years ago and it still works like a champ.
Zojirushi is the brand that I swear by and you can't really go wrong with any of their electric rice cookers. Here's a couple that I recommend:
Click on the pictures to find out where to buy (this is an affiliate link, which means I may receive a small commission at no extra cost to you).
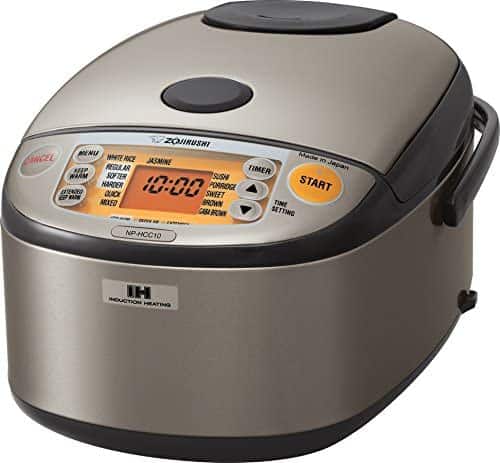
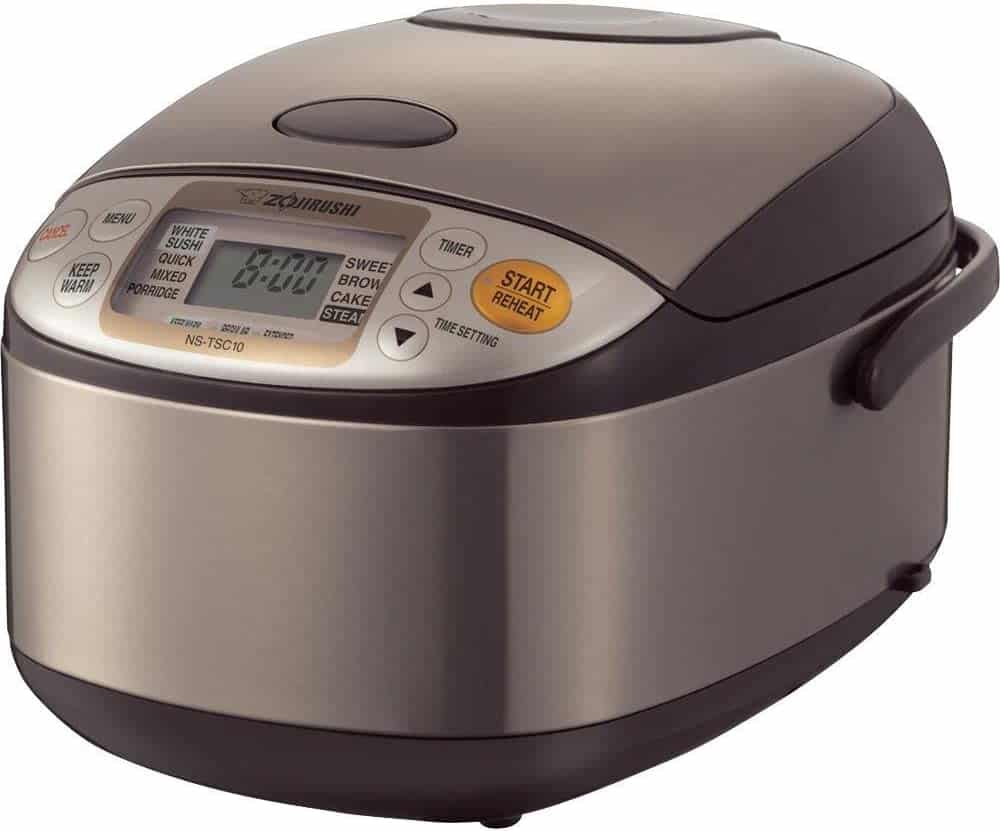
Now of course, it's not required to have an electric rice cooker but you can't beat the convenience of them. These specific models even have a sushi setting which makes it that much more simple, literally a touch of a button and you just let it do it's thing.
Timing Is Everything
This is especially true with the stovetop method. With an electric rice cooker, it'll time everything and let's you know when it's finished, it might be a beep, melody, light indication, or maybe a button that pops up. But even at that, it's important to keep track of the time.
On the stovetop, timing becomes that much more important since you need to control the time and heat yourself. Not to mention the different variables; the type of pot, lid, heat source (gas or electric)? And you know everyone's definition of medium-high is different.
So basically, pay close attention to the times that I have for each step and know that it may need some adjustments according to your setup. Like anything, practice makes perfect and this is definitely one of those recipes.
Alright, so we've gone over the type of rice, measuring rice and water, and the cooking methods. Now let's move onto making the rice into sushi rice.
Sushi Vinegar (sushi-zu)
You can follow the cooking steps below to make plain white rice but remember, in order to make it sushi rice, we need to add sushi vinegar. Bottled, seasoned sushi vinegar is available at most Asian markets but making it on your own is really easy and it only takes a couple minutes, plus it tastes better.
My recipe consists of only three ingredients; rice vinegar, sugar, and salt. You can also add konbu (dried kelp) to the mix which gives it a little more flavor but it really doesn't need it. The simplicity of this recipe is the beauty and I haven't changed it for 20+ years.
If you decide to follow my sushi vinegar recipe, make sure to use unseasoned rice vinegar versus already seasoned rice vinegar. The labels can look very similar so just something to be aware of.
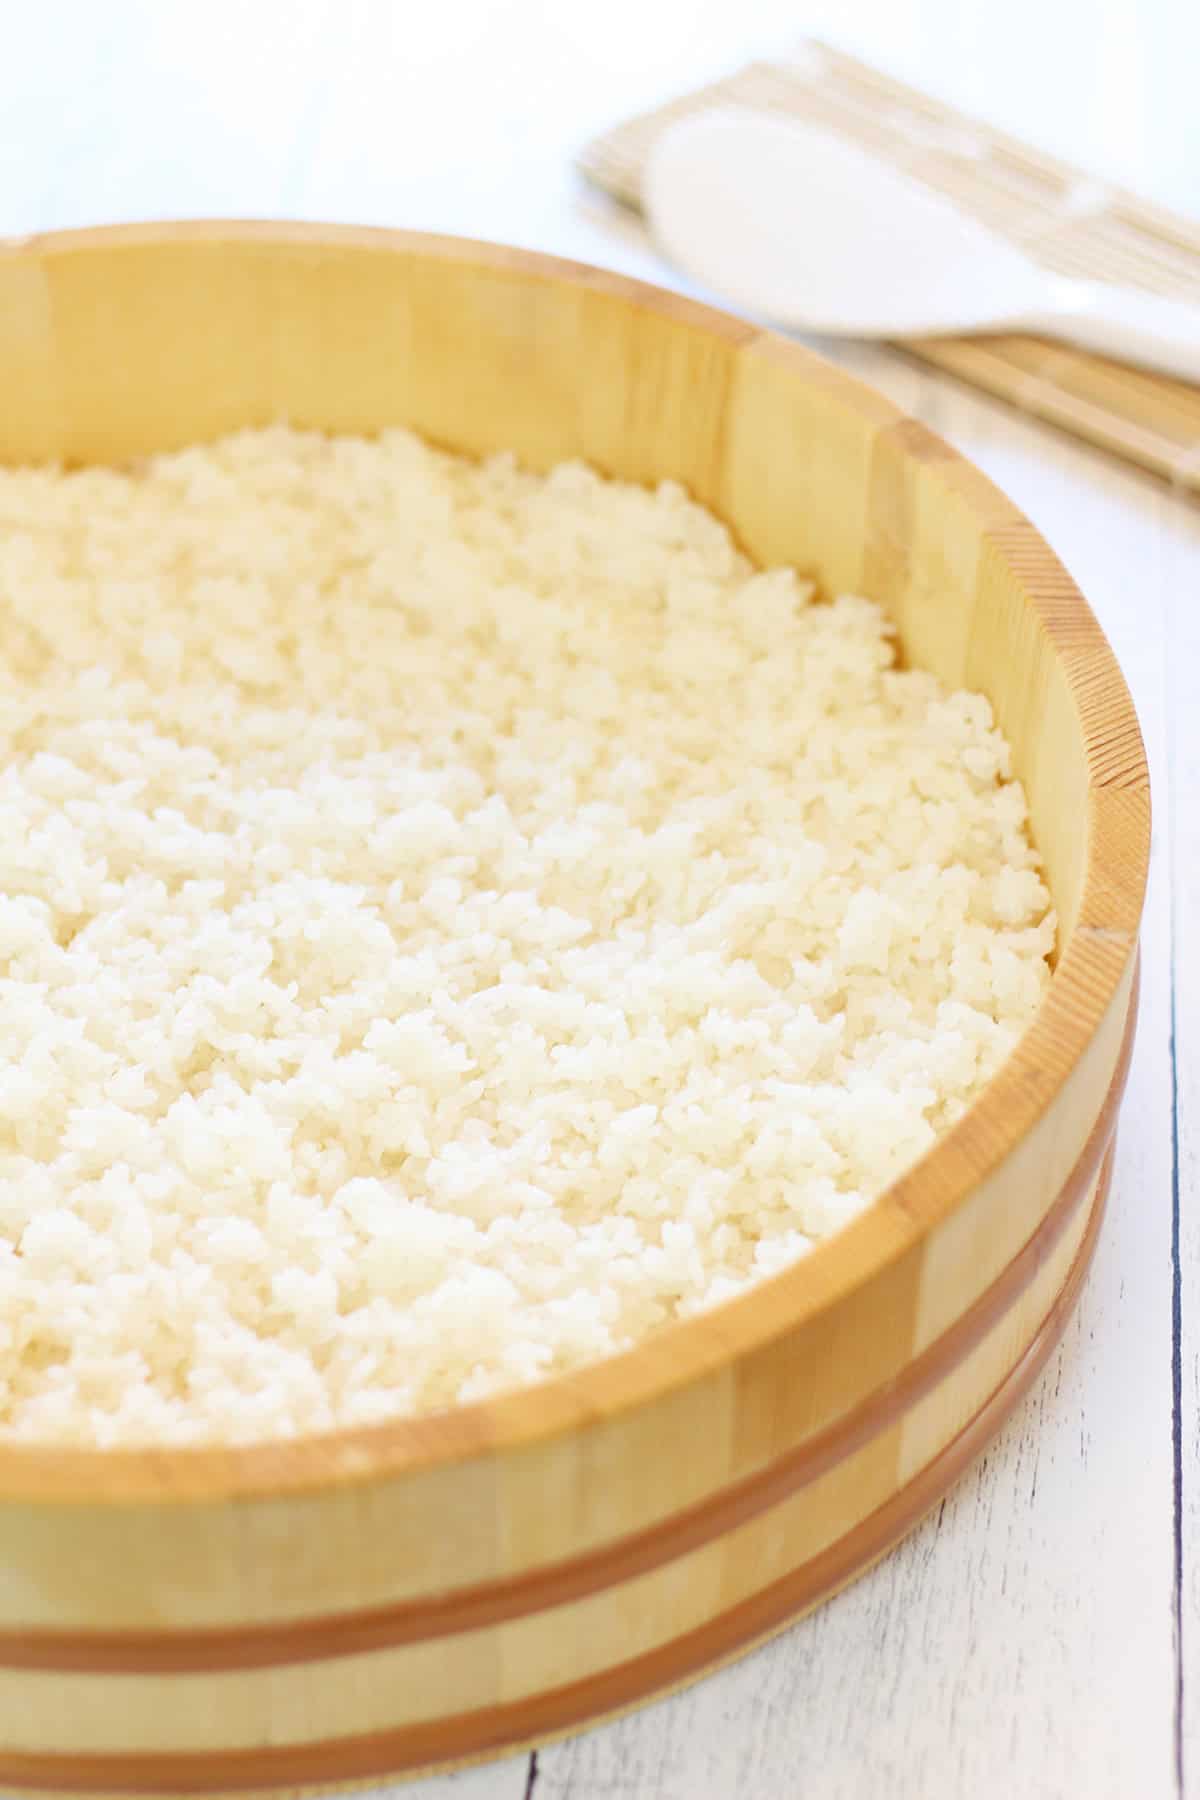
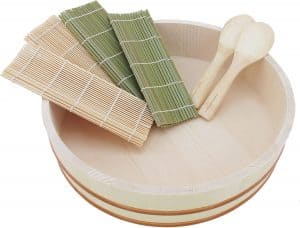
Sushi Oke (Hangiri)
When we mix the rice with the sushi vinegar, traditionally a sushi oke (aka hangiri) is used. They're basically big wooden tubs made from either cypress or cedar and comes in a variety of different sizes. The wood helps absorb excess moisture while allowing the rice to cool properly resulting in better texture and consistency. That said, you can simply use a large bowl or deep pan to mix the vinegar into the rice. It'll get the job done, just not as well.
If you're looking to purchase a sushi oke for home use, I recommend one that's around 14"-15" in diameter. This is kind of that sweet spot of not commercial size huge but big enough to make sushi rice for a party.
Check out this sushi oke kit that comes with a couple shamojis (rice paddles) and makisus (bamboo rolling mats). It's the perfect starter kit for those that plan to make sushi at home often, or at least more than once.
Click on the picture to find out where to buy (this is an affiliate link, which means I may receive a small commission at no extra cost to you).
Shamoji (rice paddle)
Another important tool is the shamoji or rice paddle. It's made for rice (obviously) and we use it to mix the vinegar evenly into the rice. The sushi oke kit above has some included but if you're looking to purchase one on it's own, try to find one that has an anti-stick surface (which helps keep the rice from sticking) and perhaps a dishwasher-safe one, you'll thank me later.
Though not ideal, you can substitute with a wooden spoon/spatula. Maybe a plastic one, but definitely not those soft rubber ones.
Conclusion
If you read all the way up to this point, first off, thanks! Secondly, I assume you're pretty serious about making sushi and I'm glad that you're here. I sometimes have a tendency to get too technical but I hope you appreciate my pro tips and find them useful in your sushi-making journey.
Key Points
Tip #1 - Use the Correct Rice
As I mentioned above, the most important thing is to use the correct type of rice. Japanese short-grain rice works best because of its natural stickiness, moisture, and texture.
Tip #2 - Measure, Measure, Measure
Remember, high-quality rice won't mean anything unless you cook it right, and that all starts with measuring it correctly. Make sure you're cooking enough for the amount of sushi you're planning on making and measure the correct amount of water.
Tip #3 - Timing
Timing is crucial especially if you're not using an electric rice cooker. Pay attention to how long the rice is soaked, cooked, and left with the lid on after it's done cooking.
Tip #4 - Sushi Vinegar
It's not sushi rice without the vinegar so obviously this is important. Store-bought sushi vinegar is fine but you'll get better results when making it from scratch. Don't be intimidated though, it's literally just mixing three ingredients: rice vinegar, sugar, and salt.
Tip #5 - Slice and Fold
Pay attention to how the sushi vinegar is mixed into the rice. The "slicing" and "folding" motion will help evenly mix the vinegar while keeping the rice from smashing.
The PERFECT Sushi Rice!
VIDEO
INGREDIENTS
Tools/Supplies:
- Medium to large sized pot with a tight-fitting lid ideally with a heavy/thick bottom and no spouts or steam holes
- Sushi oke/hangiri wooden sushi mixing bowl or a large bowl (used to mix rice and vinegar)
- Shamoji rice paddle
- Large bowl to wash rice in
- Fine strainer if using a non-mesh, make sure the holes are smaller than each rice grain
Ingredients:
- 2 ¼ cups 3 rice cooker cups - Japanese short or medium grain rice (see chart)
- 2 ¼ cups water
INSTRUCTIONS
Cooking Rice
- Wash the rice in a large bowl with cool running water. Gently swirl the rice around and drain the water. Repeat the washing process 4 to 5 times until the water is clear.
- Transfer the rice into a mesh strainer and let sit for 10 minutes.
- After 10 minutes, transfer the rice into the medium/large pot and add the correct amount of water to the pot (see page 81). Ensure the rice is fully submerged and level. Let the rice soak for 20 to 30 minutes before cooking.
- Now it’s time to cook! Place the pot over medium-high heat, close the lid, and wait for it to boil (about 4 to 5 minutes). After the water boils, turn down the heat to low and cook for 12 minutes. Make sure the lid is closed tightly and set a timer!
- After 12 minutes, quickly open the lid to check if the water has been completely absorbed. Don’t leave the lid open for long. If there is still some water, close the lid and cook for another 2 minutes. Keep cooking in additional 2-minute increments if needed. Try to leave the lid closed as much as possible.
- Take off heat and let sit with the lid CLOSED for 10 minutes. Don’t skip this step!
- After 10 minutes the rice is done! At this point, you have plain steamed rice and you can eat it however you’d like. Next, we’ll mix in the sushi vinegar, which will officially make it sushi rice.
Making Sushi Rice
- Dampen the shamoji and carve around the outer edge of the pot first to transfer cooked rice into your sushi oke. Lightly scrape off any rice that may be stuck to the bottom of the pot. Don’t include any burnt or hard parts of the rice (if any).
- Next, pour the sushi vinegar onto the rice as evenly as possible.
- Mix the vinegar by using a “slicing” and “folding” motion. Imagine chopping with a knife but at an angle and then scoop the paddle underneath the rice and flip it over. The goal here is to evenly mix in the vinegar with the rice while breaking down any large chunks. Try to keep the rice as fluffy as possible. Continue until evenly coated and there are no chunks of rice.
- Place a clean, damp towel over the sushi oke and let cool for 20 to 30 minutes at room temperature.
NOTES
Sushi Vinegar
INGREDIENTS
Tools/Supplies:
- Small pot used to make sushi vinegar
- Whisk or spoon
- Bowl or jar
Ingredients:
- 6 tablespoons unseasoned rice vinegar
- 3 tablespoons white granulated sugar
- ¾ tablespoons kosher salt
INSTRUCTIONS
- Combine all three ingredients into a small pot and set on low heat.
- Gently stir with a whisk or spoon until the sugar and salt fully dissolves (2 to 3 minutes). Pour into a bowl or jar and let it cool.


Sonia says
Growing up in Issaquah, WA there was a restaurant there called "The Sushi Man" he became good friends with my mother, and I can recall him even now and I haven't thought of him in over 20 years. I can still see his smile and hear his voice. I was searching for a better sushi rice recipe and came across yours. Your brand name instantly brought a smile to my face and it's probably the best sushi rice I've ever prepped in my life! Thank you Sushi Man and I look forward to learning more from you.